158 Reviews158 reviews with an average rating of 4.4 out of 5 stars
This article is part of our series: Intro to Backpacking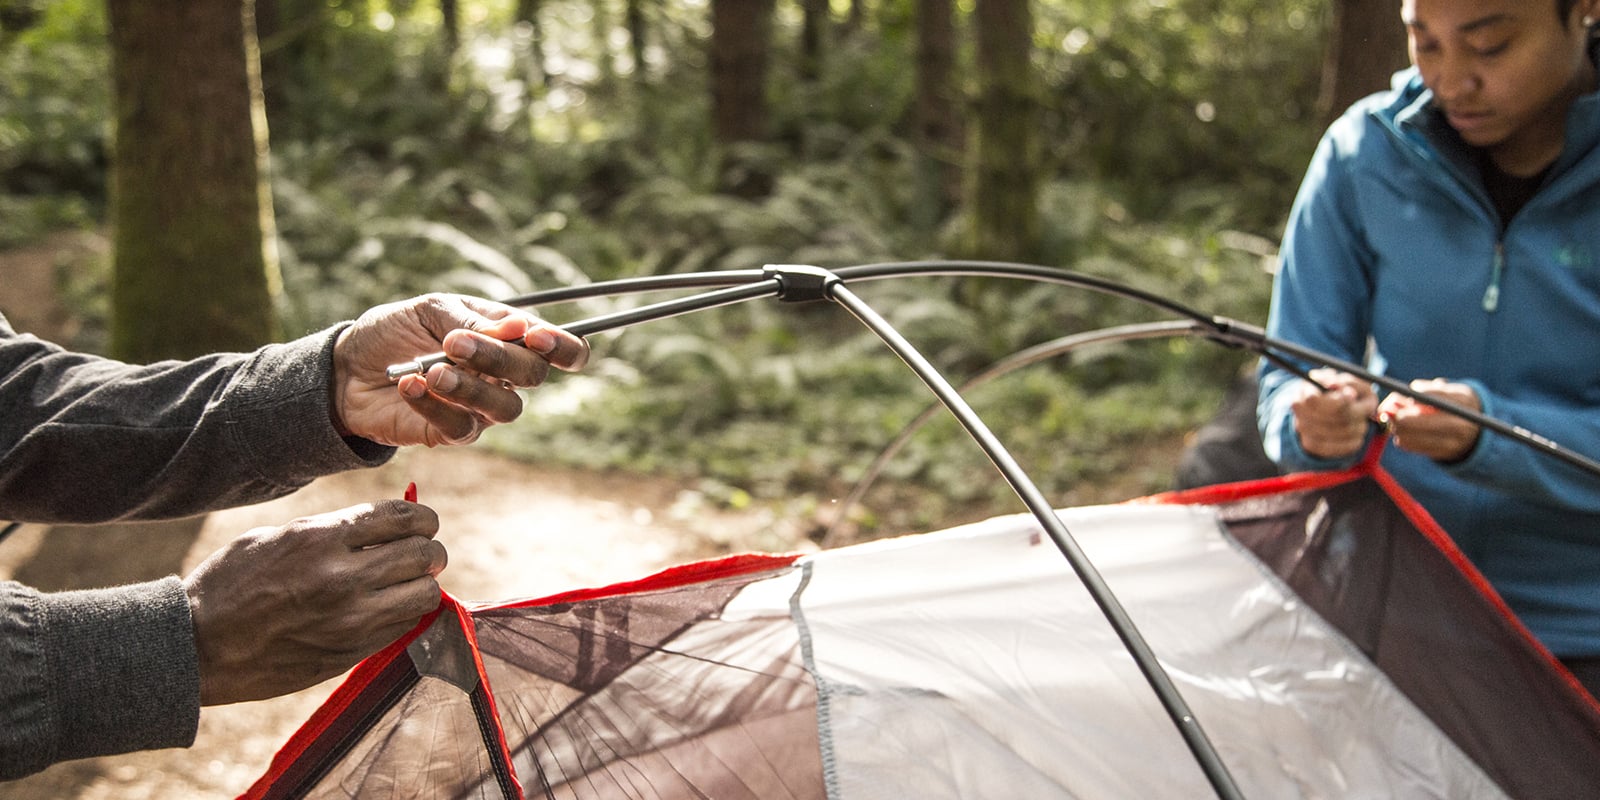 PREVIOUS ARTICLEHow to Pack and Hoist a Backpack
When the sunrise comes streaming through the tent window after you slept soundly through a gale-force night, you’ve got yourself a well-pitched shelter. If you’ve never set up a tent before, it’s been a while since your last campout or you’d just like a few ideas on how you can smooth out the process, this article can help.
Tent setup has four phases:
- Pre-trip preparation: Practice pitching and make sure you have everything.
- Campsite selection: Minimize impact and maximize weather protection.
- Pitching tips: Follow these steps to make setup easier and your tent sturdier.
- Guyline guidance: Learn how to use guylines properly to prepare for strong winds.
Video: How to Set Up a Tent
Tent Setup: Pre-Trip Preparation
Before you hit the trail, set your tent up at home: Home offers a low-stress environment for you to master the pitching process for a new tent. The worst time for learning is after you’ve finished a long day of hiking, the sun has set and the rain is coming down sideways.
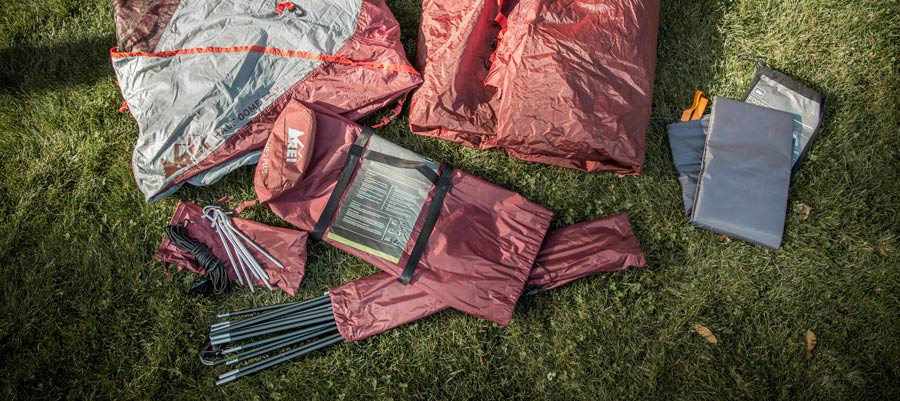
Read the instructions carefully and inventory the parts: Reading instructions, rather than grabbing things and winging it, is a great way to prevent confusion and damage to tent parts. And if a piece is missing, you’ve built in the time to get it before your trip. And don’t forget to pack along a copy of the instructions.
Decide on your footprint strategy: Though tent floors are heavy duty to stand up to water, abrasion and wear, the ground is a formidable foe. You can combat this problem by buying a footprint—a custom-sized ground sheet that offers an extra layer of protection. You can also buy Tyvek® material to make your own footprint or you can simply buy a tarp.
Footprints are sized smaller than your tent floor so they don’t catch and pool rainwater under your tent. If you make your own footprint, do the same. If you bring a full tarp, fold it under so that no part extends beyond the floor perimeter.
Tent Setup: Campsite Selection
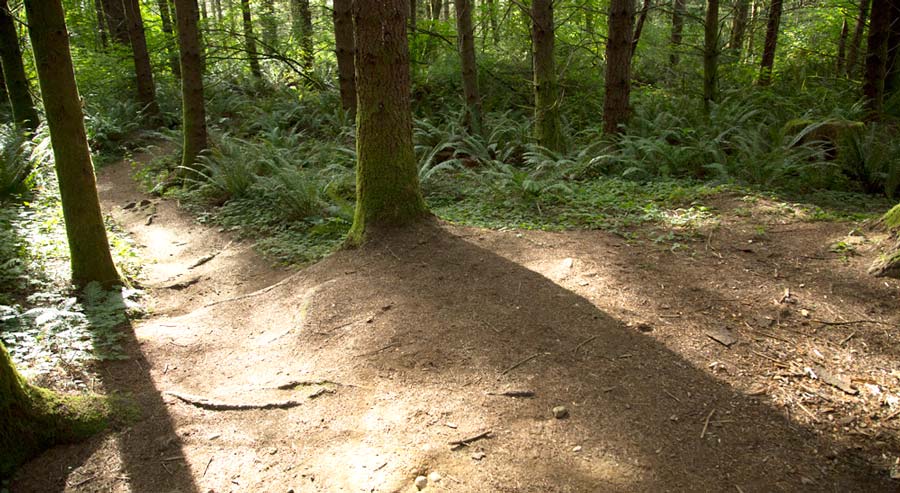
Follow Leave No Trace principles: This list of best practices to preserve our wild spaces includes guidance on where to set up your tent.
- In well-traveled areas, seek out existing campsites.
- Always camp at least 200 feet from lakes and streams.
- Keep campsites small: Focus activity in areas where vegetation is absent.
- In pristine areas, disperse use to prevent the creation of new campsites; also avoid places where impacts are just beginning.
Wind and rain strategies: Though a quality tent is built to handle both wind and rain, you can minimize stresses and hazards by selecting sites that offer some natural protection.
To prevent wind-related issues:
- Look for natural windbreaks: a stand of trees or a hill between you and the prevailing breeze.
- Avoid camping near damaged trees or limbs that can be blown down by a severe gust.
- Though many campers will orient a tent with the smaller side facing the wind for reduced resistance, it’s more important to place the side that has the strongest pole structure facing the wind.
- If you’re camping in a hot climate, orient a door toward the wind for cooling.
To prevent water-related issues:
- Seek higher, drier ground so you have less moisture in the air to form condensation inside the tent as temperatures drop.
- Look for sites under trees because they create a warmer, more protected microclimate that will produce lower levels of condensation.
- Avoid camping in low areas between high areas, because cool, damp air settles here; rain can also channel through and pool when a storm blows in.
- To prevent rain from blowing in, orient doors away from the wind.
Video: How to Select a Campsite
Tent Setup: Pitching Tips
Clear debris from your tent site: Your goal is to protect the tent floor and remove things that can poke you in the backside. This isn’t an excavation project, though: Pick another site if you feel like yours needs major work.
If it’s windy, stake down tent corners: A strong wind can make laying out your tent feel more like flying a kite. Quickly stake down the corners at the outset; it’s a simple task to restake your tent in its final position later.
Go slow with the poles: During setup, poles can get tweaked or chipped, so take a few extra moments to unfurl and seat each pole section with care.
Stakeout tactics:
- You’ll get maximum holding power in most types of soil if the stake is fully vertical as you drive it into the ground.
- Leave just enough stake exposed to allow you to slip a tie-down cord over it.
- If you can’t push the stake in with your hand or foot, you can use a large rock for this job; you can also pack a special stake hammer.
- Pack extra stakes in case some hidden rock pretzels one of yours.
- Consider packing sand anchors or snow stakes for those environments.
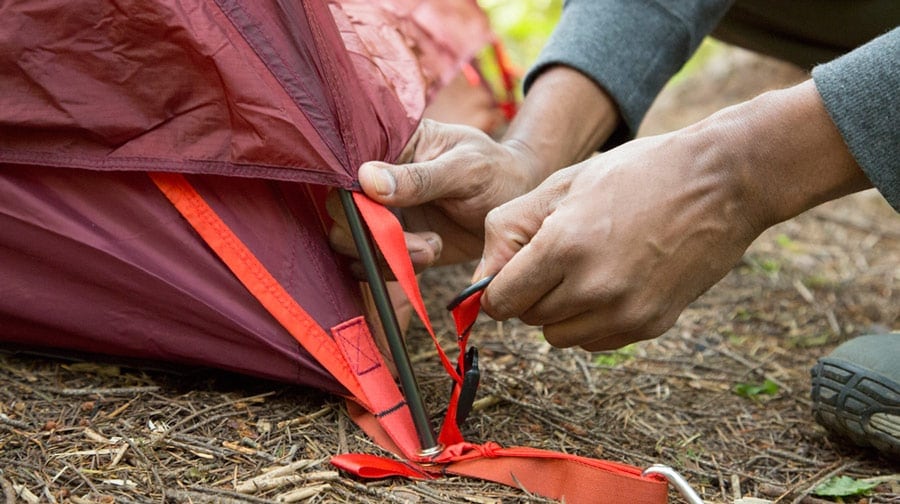
Rainfly wraps: On the underside of the rainfly on most tents you’ll find several Velcro wraps near tent poles; securing each of these around the nearby pole will help stabilize and strengthen your tent.
Master the art of fly tensioning: A well-pitched tent has a taut rainfly. Most rainflys have straps you can cinch at the tent corners. Snug these evenly and recheck fly tension periodically, especially before crawling in each night, because changing weather affects tautness.
- During initial setup, don’t over-tension the first fly corner; wait instead until the fly is fully on and then tension all corners evenly.
- Check tensioning by looking to see if seams on the fly line up with the seams and poles on the tent body; if not, readjust tension so that they are aligned.
- Always re-check the rainfly tension after it gets wet because most fly material stretches when it gets damp.
Tent Setup: Guyline Guidance
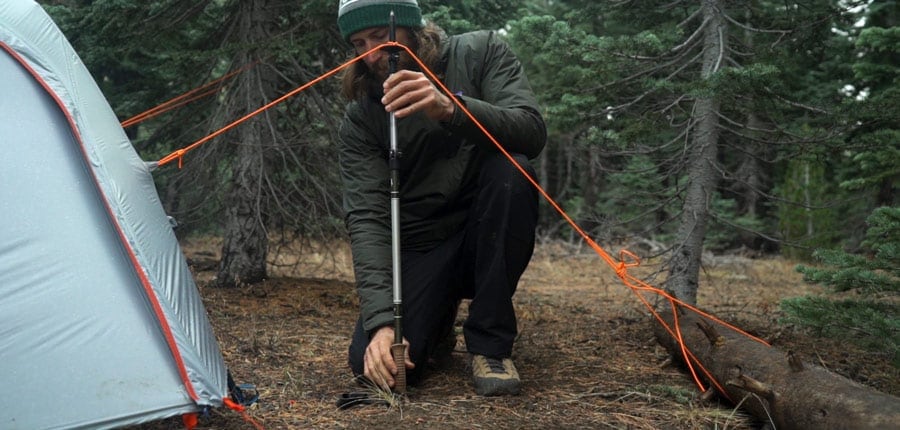
Most tents come with guylines for extra stability in strong winds. You attach these to sturdy loops—guyout points—in strategic locations around the rainfly. You’ll find guyout points midway up a tent wall, directly over a pole.
Using guylines is optional. However, if the forecast is iffy, they’ll be far easier to set up before nightfall, while the weather is still mild.
Note that loops on the bottom edge of the rainfly are for staking the fly away from the tent, not for adding a stabilizing guyline. And loops that aren’t located directly above a tent pole are there to increase tension and ventilation, not wind strength.
Pack extra guyline cord so you can rig a longer line or add guylines if needed; also pack extra stakes and guyline tensioners (small plastic parts that make it easy to tighten your cord).
You’ll need to tie one end of the guyline to a guyout loop—a bowline knot works well for this. If you lose or run out of tensioners, then you can use a trucker’s hitch to tighten the guyline at the tent stake.
Where to attach guylines: Often a tent will have more guyout points than guylines. To maximize stability, use these tactics:
- At minimum, you should attach guylines at the guyout points on the windward side of the tent (the side the wind is coming from).
- For greater stability, add guyout points uniformly around the tent; your goal is to have all sides of the tent equally stabilized.
How to attach guylines:
- Tie a fixed knot to the guyout point, pull the guyline directly outward from the pole that’s under that guyout point, then loop the other end of the line over a stake that’s well away from the tent corner; tighten the guyline tensioner.
- If possible, also route the guyline perpendicular to the guyout point. If no tree limb is handy, use a trekking pole: Rig the guyline over the top of the pole, then down to a stake. This substantially increases tent strength.

